
Music-reactive projector visuals: a practical party setup
A projector makes music visuals feel like part of the room. The useful setup is straightforward: an Apple device running Kamilovision, an audio source the app can hear, and a compatible projector connection. Plan the placement and signal path together so the picture supports the party throughout the evening.
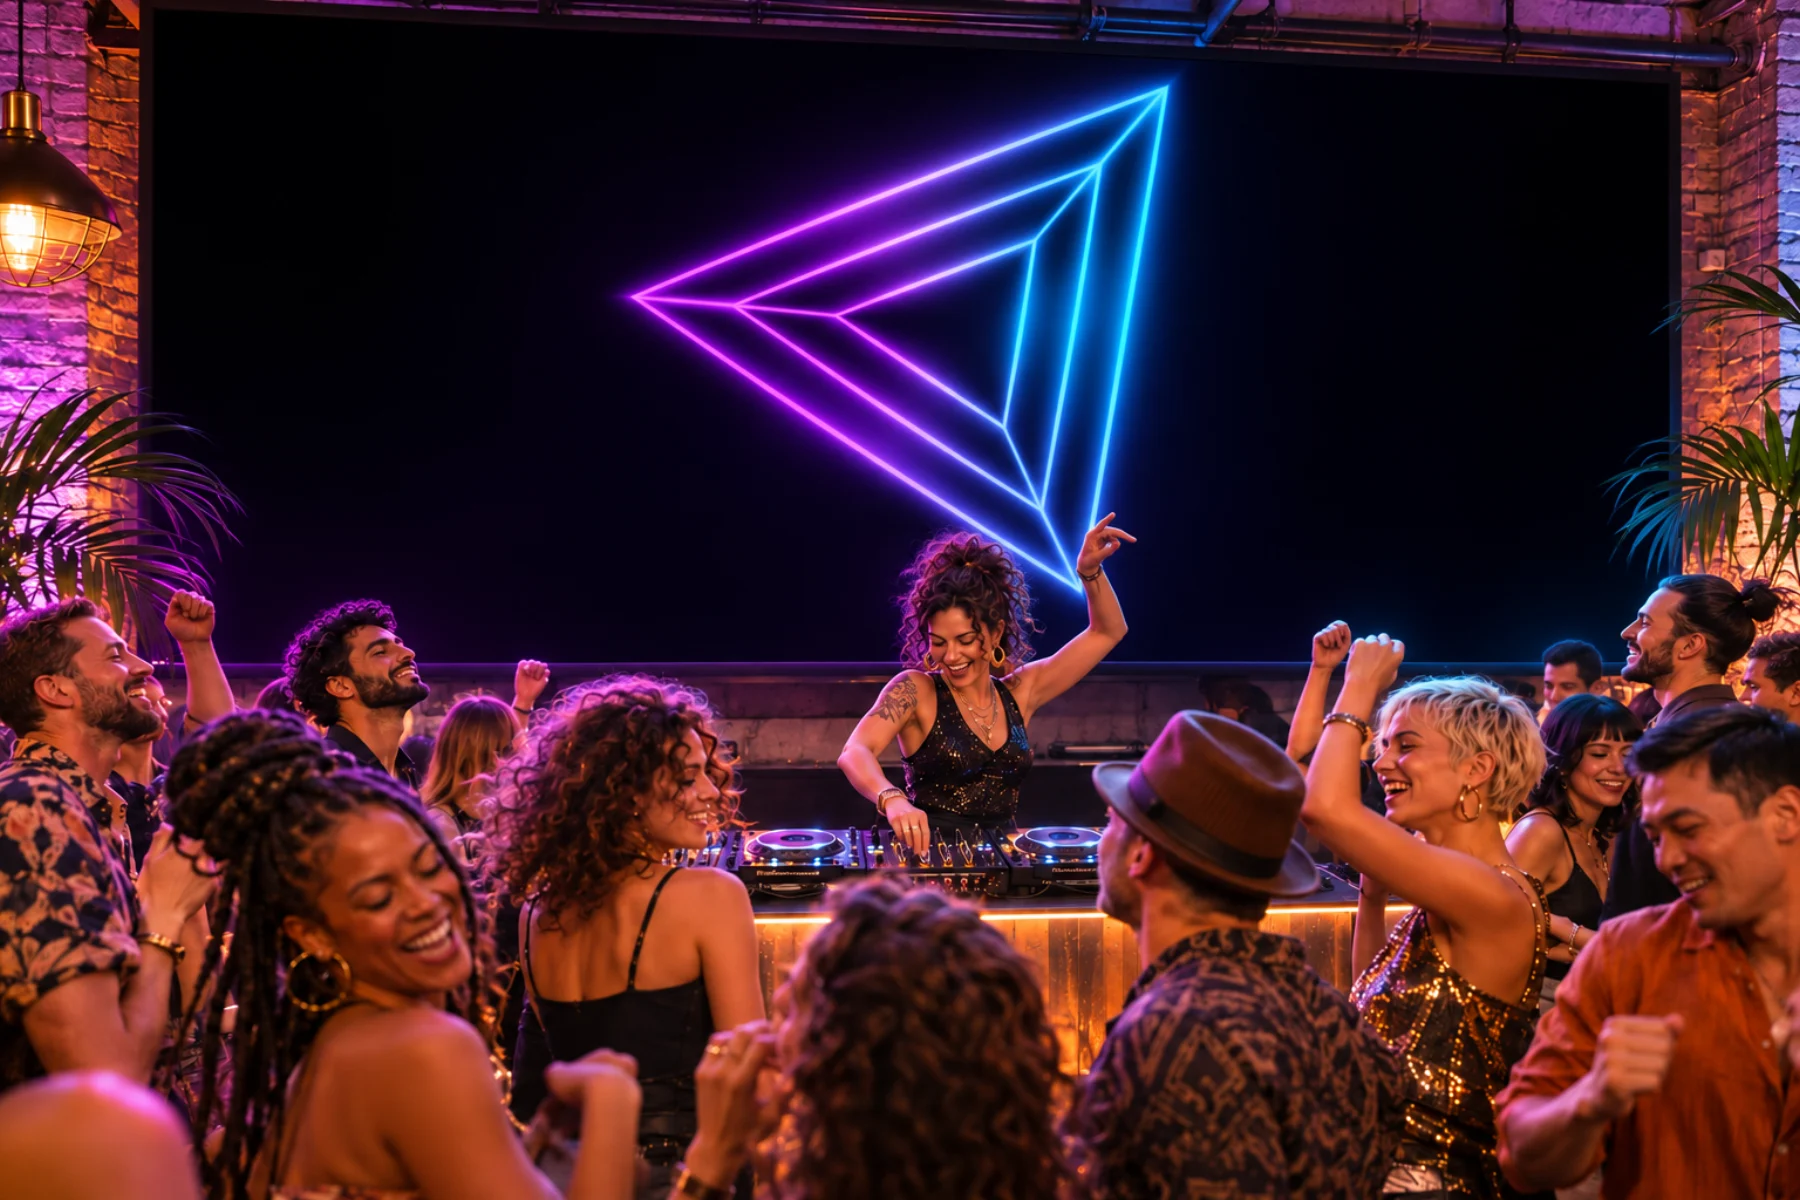
Start with the room and the screen
Choose a clear projection surface that guests can see without standing in the beam. Check the projector’s placement and focus before tuning the app. A larger image spreads the available light over more surface, so test the actual size with the room lighting you plan to use.
Pick a world that remains readable from across the room. Large geometric shapes, clear horizons and luminous subjects can make a stronger first impression than fine detail on a dim or textured wall. Keep a little room light where people need to walk or handle equipment.
Choose a compatible video route
HDMI is a practical starting point for a fixed projector setup. Connect a compatible cable or adapter, select the projector input, then check the external display in Kamilovision’s Presentation controls. This is standard video output, not projection mapping or control of stage-lighting fixtures.
AirPlay Screen Mirroring can work with a compatible receiver connected to the projector. Test the actual Wi-Fi network at the intended location. A receiver’s presence does not guarantee a separate audience screen or a particular resolution and refresh rate.
Feed the music separately
The projector connection carries the picture; the app still needs an audio source. On Mac, System Audio analyzes playback on that Mac. A compatible audio interface can feed a mixer signal. On iPhone or iPad, use a microphone or compatible audio input.
A microphone hears the room and can include conversation or crowd noise. A direct input can better isolate the music when your equipment provides one. Neither choice is universally best: a microphone is convenient for spontaneous listening, while a connected signal can be useful beside a busy DJ booth.
Tune response, timing and quality together
Play the type of music you will use at the party, then calibrate the response and adjust intensity. A breakdown should have room to feel quieter; constant maximum intensity leaves little visual contrast for a stronger section.
If the image becomes uneven during a longer test, lower the quality or resolution and rehearse again. Kamilovision supports device-aware quality and frame-rate controls. Up to 4K at 60 fps is hardware-dependent, not a promise for every projector, adapter or wireless route.
Prepare a simple way to run the evening
Choose a few worlds in advance and use Hold to stay with one look through a track. Keep a calm option ready when people want to talk. Test the playback controls from where the device will sit rather than placing it where every change blocks the projection.
Run the complete setup long enough to catch an unsuitable output mode, an unstable connection or a device that needs lower quality. Listen for unintended audio routing changes after connecting the projector. The right final check is the picture and sound your guests will experience.
Before guests arrive
- Projection is focused and visible with the planned room lighting.
- The device, adapter and projector agree on an output mode.
- Music and video routes are checked separately.
- The audience picture is clean on the selected connection.
- A longer rehearsal confirms stable output and suitable visual intensity.
Sources and further reading
Published by Kamilovision. External product information is based on the linked official documentation, reviewed November 2, 2026. Product names belong to their owners; no affiliation or endorsement is implied.